Artists Theme
The Artists Theme is a one page portfolio for freelancers based on the original Jekyll theme by Travis Neilson aka DevTips and his many contributors. It’s the result of a longer video series made by him that is showing the whole developement process from the first designs to the final Jekyll theme. Consider to subscribe to his YouTube channel.
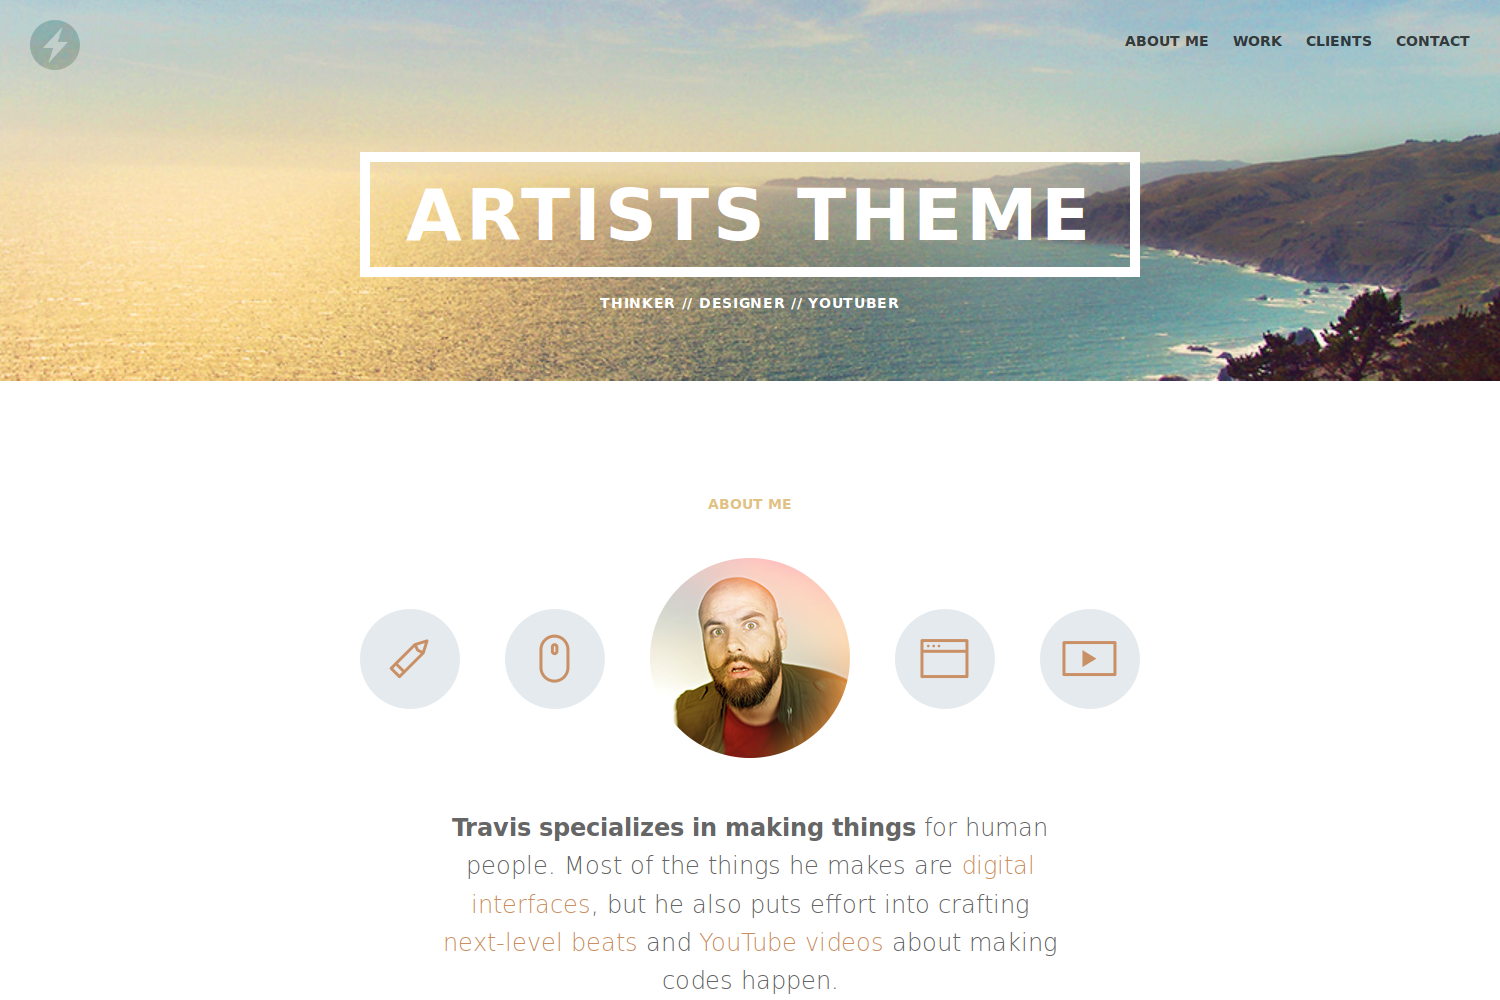
This Hugo theme features several content sections, like an about section showing the level of your skills, a responsive portfolio with hover effects, a gallery to present your client’s opinions and a contact form.

Contents
Installation
Inside the folder of your Hugo site run:
$ mkdir themes
$ cd themes
$ git clone https://github.com/digitalcraftsman/hugo-artists-theme
For more information read the official setup guide of Hugo.
Getting started
After installing the Artists Theme successfully it requires a just a few more steps to get your site finally running.
The config file
Take a look inside the exampleSite folder of this theme. You’ll find a file called config.toml. To use it, copy the config.toml in the root folder of your Hugo site. Feel free to customize this theme as you like.
Change the hero background
The hero acts as an eye-catcher for your site. So consider to give him a nice background. You just need to replace the hero-bg.jpg at static/img with your own background image. But it’s important that you keep the original filename.
Add your own logo
Go to static/img and replace the logo.svg with your own file. If you don’t want to use an svg you also need to change the source name inside the all.css stylesheet here and here.
Introduce yourself
In the next step, replace the image of Travis in the about section with one of yours. Therefore search the avatar.jpg under static/img. But keep the original filename here too.
Furthermore, you can show your visitors your skills and capabilities. Add as many skills as you like by copying the snippet below:
[[params.about.skills]]
   name = "Communication"
   value = 9
To rate your skill level, use a value between 0 and 10.
Create your portfolio
Adding a new project is very simple. Firstly, you need to define a new project in your config.toml with the following code snippet:
[[params.work.projects]]
    name   = "TYPO International Design Talks"
    folder = "proj-1"
The folder attribute defines a project-specific subfolder for your images. You will use it at the end of this section.
Beside the config.toml, there is under content another subfolder called work which hosts the files that will appear as your projects in the work section. Copy the whole folder into the content directory at the root of your Hugo site.
Such a project file might look like this one written in Markdown:

TYPO: International Design Talks is an annual event held in Berlin, London, and San Francisco. This promotional project is developed to market the event for the designindustry. The use of patterns, sophisticated color scheme and typography are applied for the print and mobile application.


The paths to your images are relative to the base url. Store those under static/img/work/<folder>/. <folder> is a the attribute from the config.toml that you defined for the images above. Create at least a thumb.jpg for the preview in the portfolio grid.
What your clients think
For a new quote, copy the code below into your config.toml:
[[params.clients.list]]
      avatar = "face-teleject.jpg"
      name   = "Cleatus Cassidy"
      title  = "VP of Helmut, Lorem Sorem LLC."
      quote  = "**Back in old country** only nerds who is playing on computers. Now all bros is wanting to make codes and junk. I lost foot in war. You dont see girls asking me about homework."
      logo   = "logo4.png"
Store both the client’s avatar and logo at static/img/clients
Add social networks
You can link some of your social networks in this theme too. Therefore copy the this snippet:
[[params.contact.social]]
      icon = "twitter"
      link = "//twitter.com/devtipsshow"
The following social network icons are available:
twitter, facebook, github, pinterest google-plus, linkedin
youtube, instagram, dribbble, behance, soundcloud and vine.
Make the contact form working
Since this page will be static, you can use formspree.io as proxy to send the actual email. Each month, visitors can send you up to one thousand emails without incurring extra charges. Begin the setup by following the steps below:
- Enter your email address under ‘email’ in the
config.toml - Upload the generated site to your server
- Send a dummy email yourself to confirm your account
- Click the confirm link in the email from formspree.io
- You’re done. Happy mailing!
Nearly finished
In order to see your site in action, run Hugo’s built-in local server.
$ hugo server -w
Now enter localhost:1313 in the address bar of your browser.
Contributing
Did you found a bug or got an idea for a new feature? Feel free to use the issue tracker to let me know. Or make directly a pull request.
License
This theme is released under the Unlincense License. For more information read the License.
Annotations
A big thank you to these creators for contributing sample projects for the “work” section:
- Micael Butial
- Petras Nargėla
- Sergey Valiukh
- Ayoub Elred
- Anton Skvortsov
- Nick Zoutendijk
- Jonathan Quintin
- Jieyu Xiong
Also thanks to Steve Francia for creating Hugo and the awesome community around the project.